 Skip to content


DIY Project: Metal Sign With CNC Plasma Cutter
Do you guys remember the previously posted video about the CNC Plasma Cutter? In this video, Joe @harbaughsworkshop will guide you in more detail to make a YesWelder sign using a homemade plasma cutter. After watching this video, I am sure you guys will be able to touch and create other creative and interesting works.
1. Material
- JPEG Image
- Acetone
- Glossy black and red paint
-
20'' X 4.792'' 14 gauge steel (1)
2. Equipment
- Chisel
- Grinder
- CNC Machine
- Plasma Cutter
- Self-adhesive LED Light
- Computer with Inkscape and Fusion 360
- YesWelder FIRSTESS CT2050
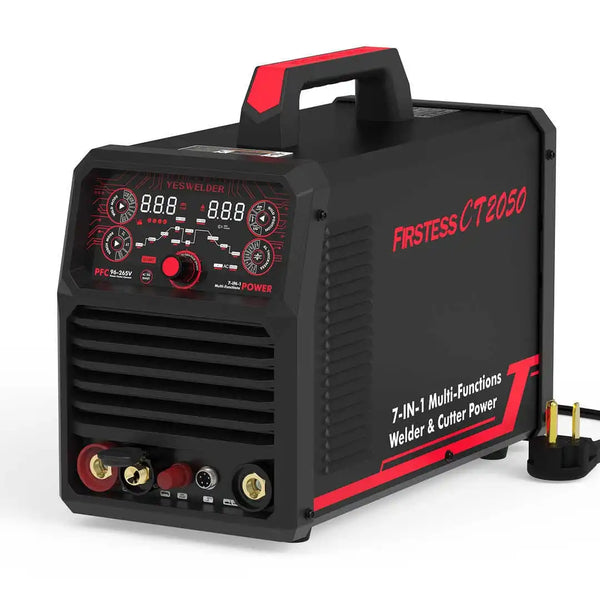
YesWelder FIRSTESS CT2050 Powerful 7-in-1 Welder & Cutter
- YesWelder LYG-Q800D-ME Welding Helmet
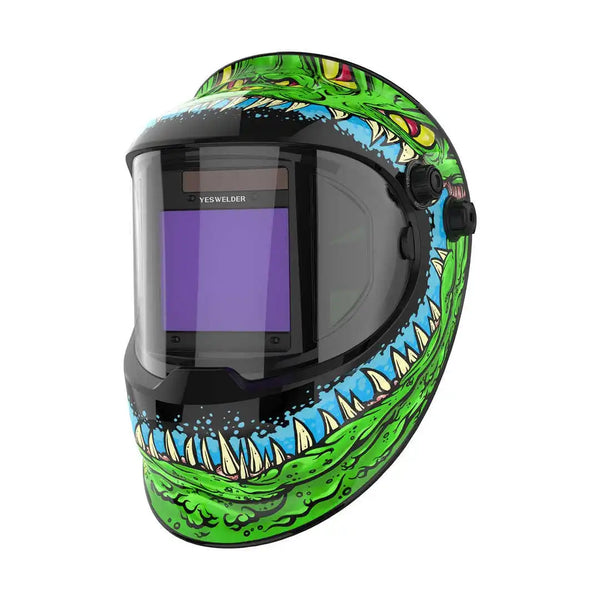
LYG-Q800D-ME Aggressor Q800D Customize Graphic Auto-Darkening Welding Helmet
3. Building Process
3.1. Set up your CNC machine and open Inkscape. (0:54)

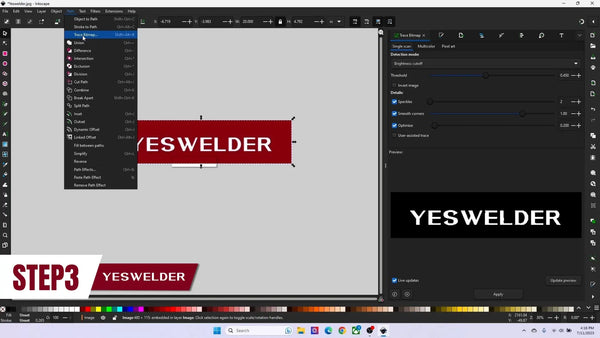
3.2. Open and resize your JPEG to the desired dimensions. (1:10)

3.3. Trace the image and save it as an SVG file. (1:40)
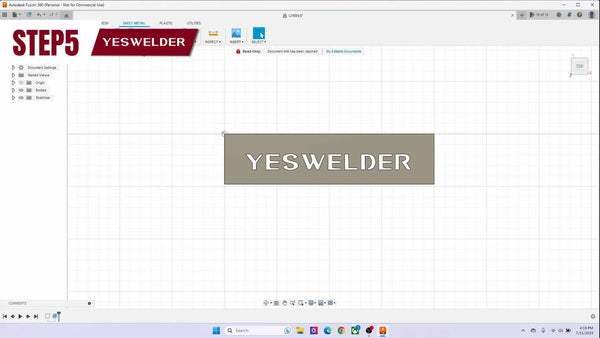
3.4. Open Fusion 360 and import the SVG file. (4:03)
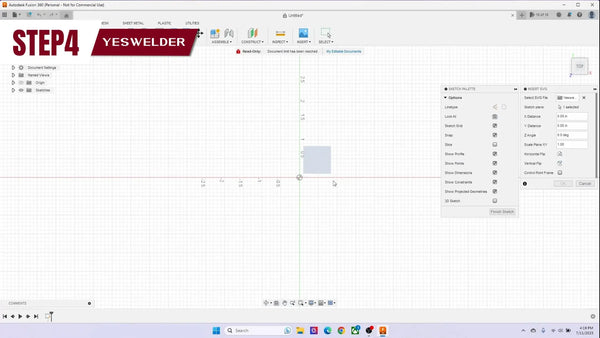
3.5. Use "Extrude" to create a 3D model from the image. (4:35)
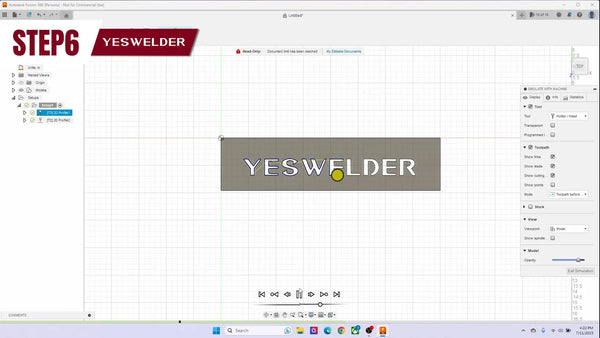
3.6. Simulate to verify the setup and generate G-code. (6:29)
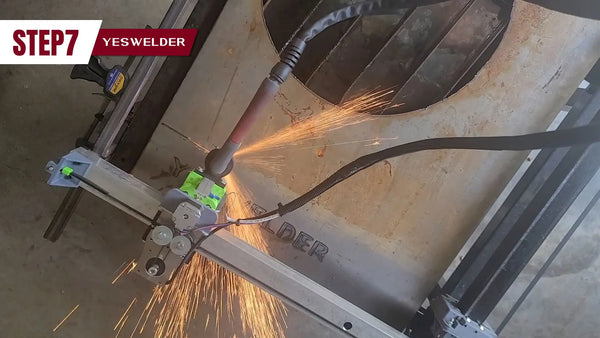
3.7. Load your material and use the generated G-code to cut. (7:12)
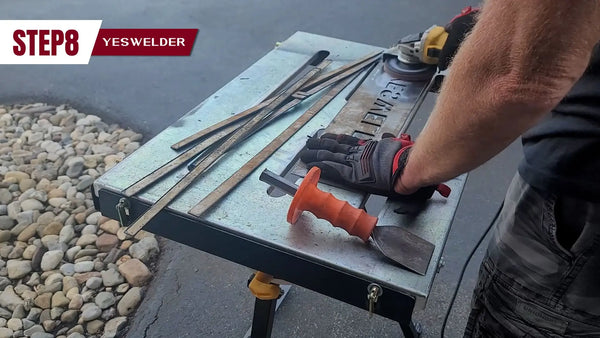
3.8. Remove slag with a chisel and clean up edges with a grinder. (8:17)
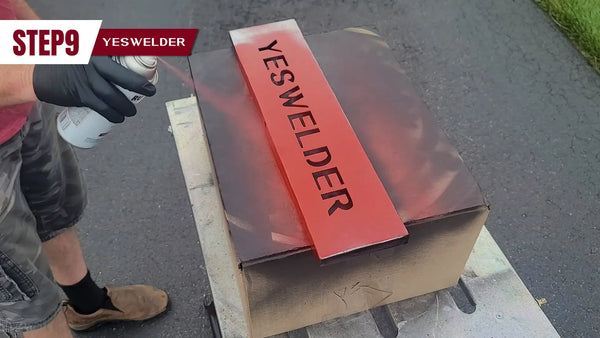
3.9. Apply glossy black and red paint, and multiple coats as needed. (10:13)
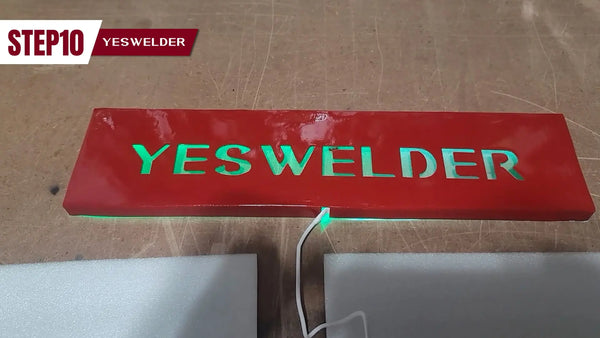
3.10. Attach self-adhesive LED lights to the inside of the sign. (10:50)
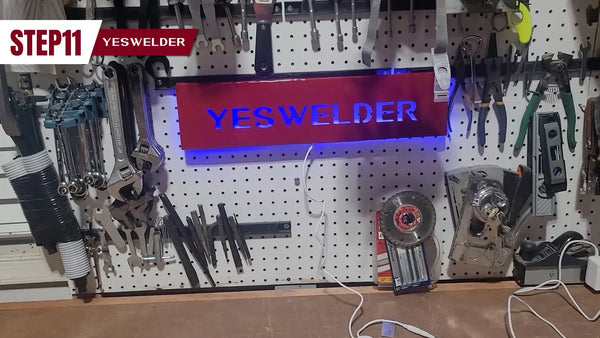
3.11. Proudly display your custom-made CNC sign. (11:06)
👏 Follow us for more amazing videos!
Thank you to Joe for DIY project. You can follow his YouTube channel @harbaughsworkshop here.
👏 You may be interested in the following:


Leave a comment