DIY Project: Portable Bandsaw
If you don't have the space for a full-size bandsaw and want to make a portable one, then you can't miss this video. Joe @harbaughsworkshop will show you a DIY video of a step-by-step process on how to build your own portable bandsaw stand. It's a simple, convenient build that will serve you well for cutting aluminum and steel plates. Believe me, it will be a handy helper for your future projects. So grab your tools and join us!
1. Materials
- Paint
- 1/4" x 15" x 10" plate (1)
- 1" x 1" x 10' square tube (1)
- 1" x 1" plastic end caps for square tube (4)
2. Equipment
- Grinder
- Tools band saw
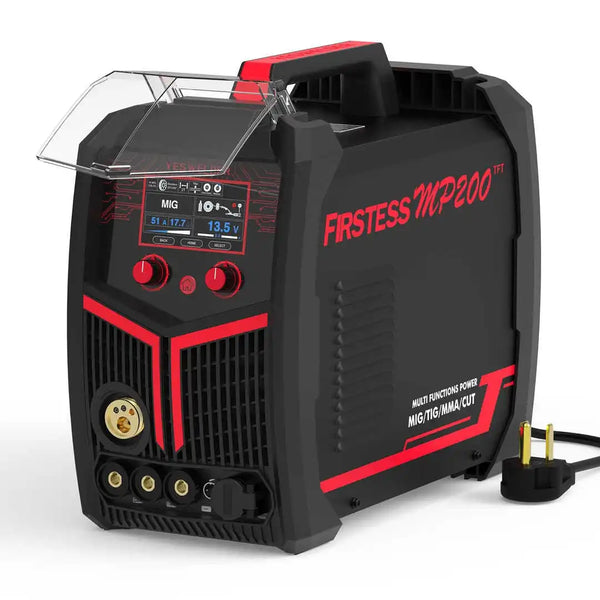
- YesWelder MP200
YesWelder FIRSTESS MP200 5-in-1 Welder & Cutter
- YesWelder CUT65DS
- YesWelder Magnetic Welding Holder
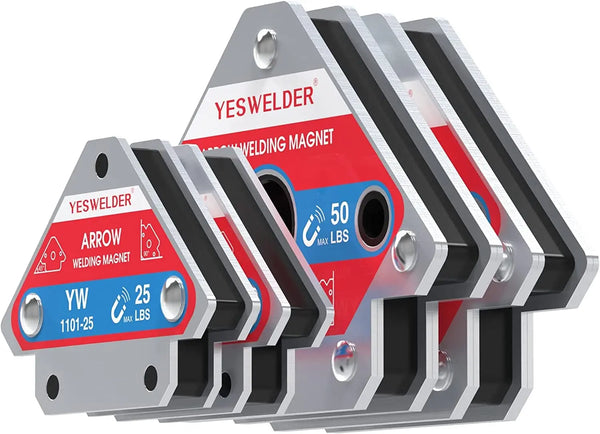
YesWelder 25LB & 50LB Welding Magnet-4 Pieces of Magnetic Welding Holder
3. Building Process
3.1. Gather materials: 1 x 1 square tubing (eighth-inch wall), quarter-inch plate (10x15.5 inches), foot pedal, 1" x 1" plastic end caps for square tube. (1:00)
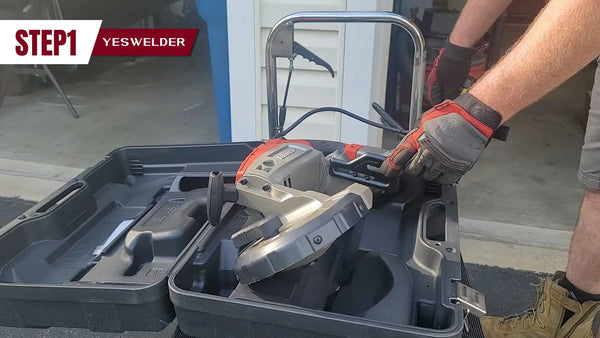
3.2. Cut the square tubing: Bottom (16 inches), top (11 inches), uprights (8 inches). (1:13)
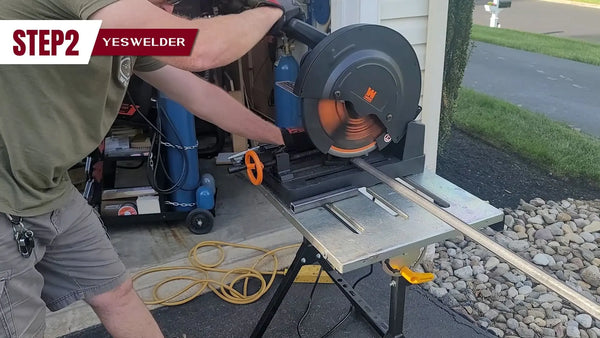
3.3. Assemble the base: Tack weld the tubing to form the bottom part. (1:40)
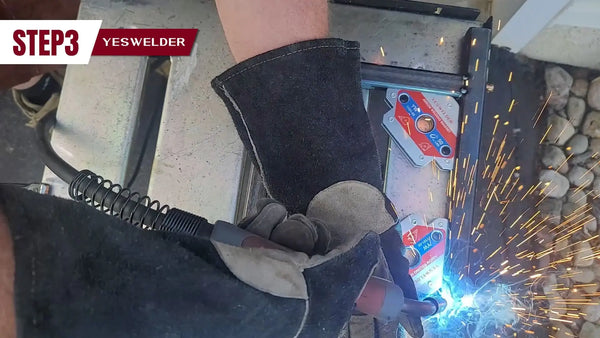
3.4. Prepare the plate: Mark a 5-inch clearance line at the center for the bandsaw blade. (2:34)
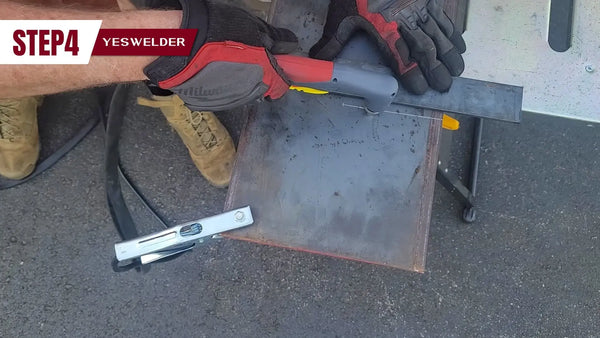
3.5. Cut the clearance with a plasma cutter. (3:01)
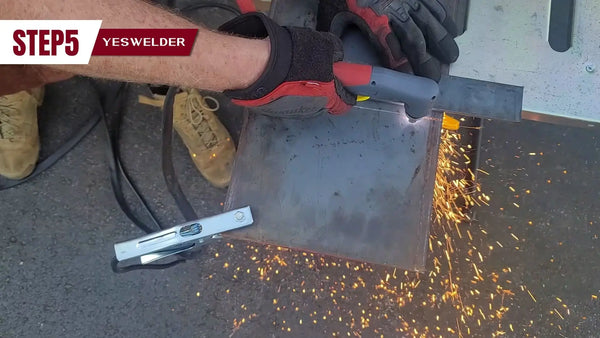
3.6. Attach the base to the plate: Tack weld the base to the plate. (3:15)
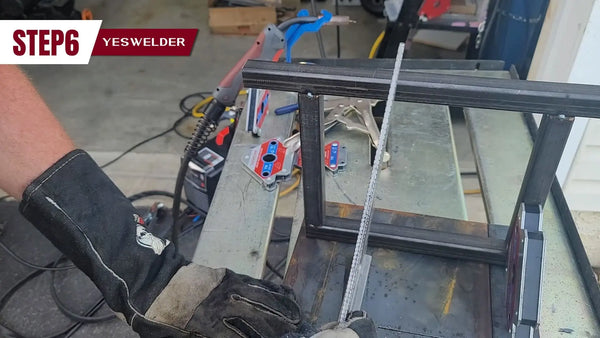
3.7. Add bandsaw support: Mount the bandsaw on the stand using screws and a flat bar. (4:20)
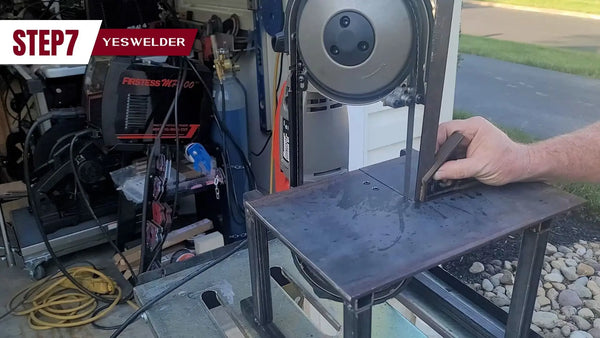
3.8. Fully weld the stand and test the fit of the bandsaw. (5:35)
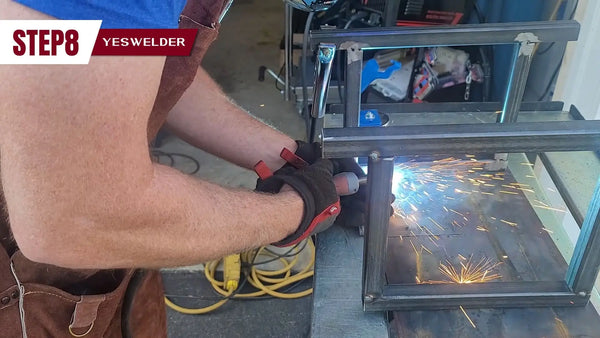
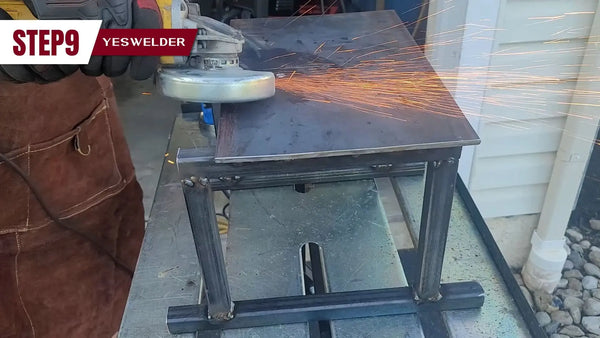
3.9. Clean up welds and edges. (6:14)
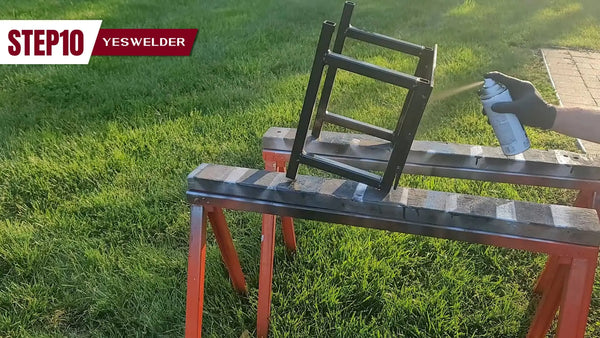
3.10. Paint the stand. (6:38)
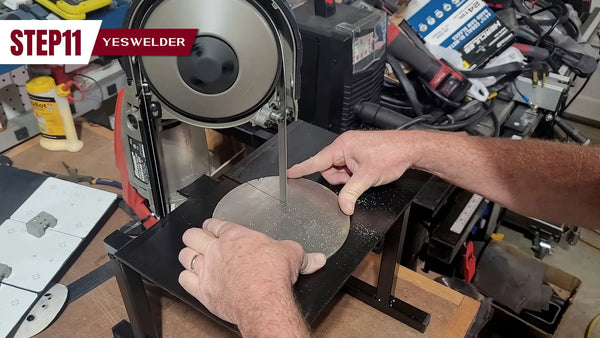
3.11. Test the stability and functionality. (7:28)




Leave a comment