 Skip to content


DIY Project: CNC Plasma Cutter Table
Too expensive to get a CNC plasma cutter table? No worries! This DIY project is here to save your wallet. Joe @harbaughsworkshop will show you how to build your own CNC plasma cutter table, following the plan provided by JD’s Garage @jdsgarage701. Best of all, it will only cost you around $500, without compromising on quality or functionality. You'll get access to detailed instructions, expert tips, and valuable insights on material selection, ensuring you choose the right equipment to meet your specific needs and budget. So, grab your tools and join us on this affordable and rewarding project together!
1. Materials
- 2.5" x 2.5" x 6' square tube (1)
- 2" x 2" x 12' square tube (3)
- 2" x 2" x 5' aluminum square tube (1)
- 1/8" x 1/2" x 5' flat bar (1)
- 1/8" x 2" x 10' flat bar (3)
- 1" x 1" x 5' angle iron (1)
- 1/4" x 1" x 3' flat bar (1)
- 1/8" x 15" x 3' plate (1)
- 1/8" x 15" x 3' aluminum plate (1)
- 1" x 1" x 10' square tube (1)
- Stepper motors
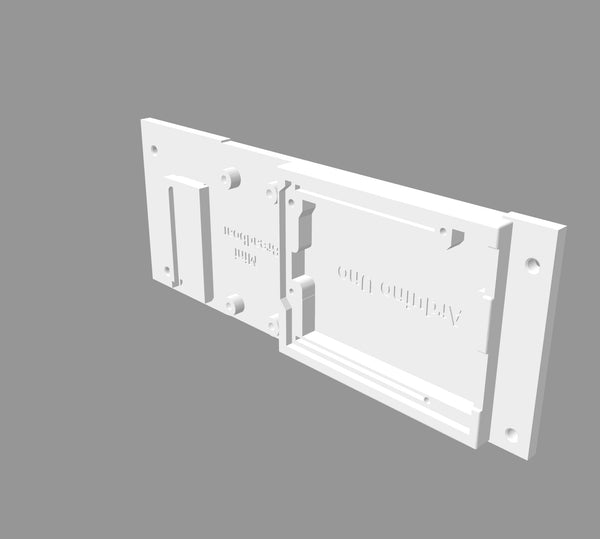
- Arduino uno Holder
- Belt active XL
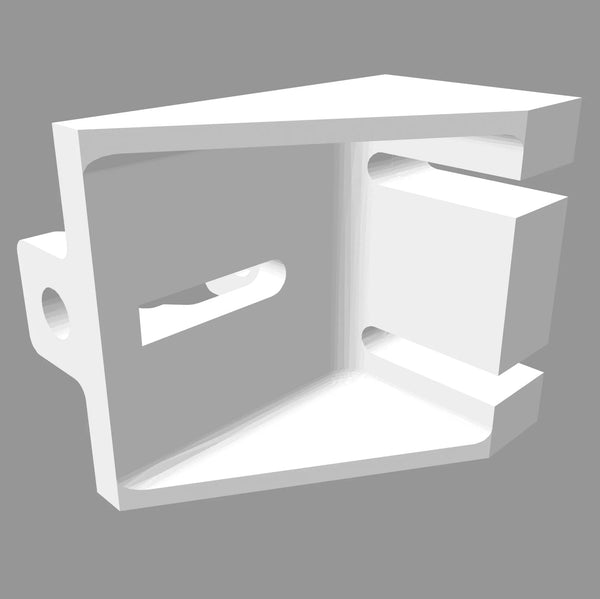
- Belt idler

Example of 3D Printed Parts about Belt idler XL
Please click here to download if you would like to know more details.
- CNC connect
- Sleeve

- X axis roller
- Relay
- Bluetooth module
- Power supply
- Stepper drivers
- Shielded wire
- Jumper wires
- Box to hold electronics
- Various bolts, screws, and washers
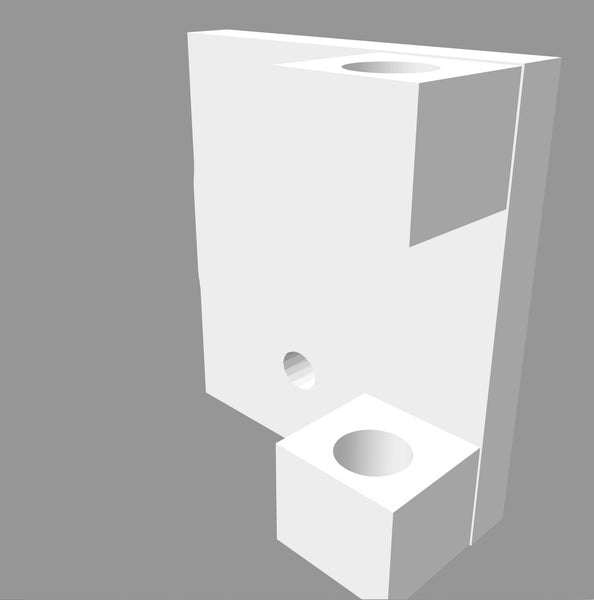
- 3d printed parts
- 10mm timing belt
- 3 different types of bearings
- Pulleys for stepper motors
- 8mm linear rod
- Set screws
- Touch probe
- PlA filament
- 5/16" stainless steel rod
- Stainless steel pan for wet bed
- 2" x 2" plastic end caps for square tube
- High speed printer cable
- Aviation connectors
- 3/4" x 48" electric conduit
2. Equipment
- YesWelder CUT-65DS
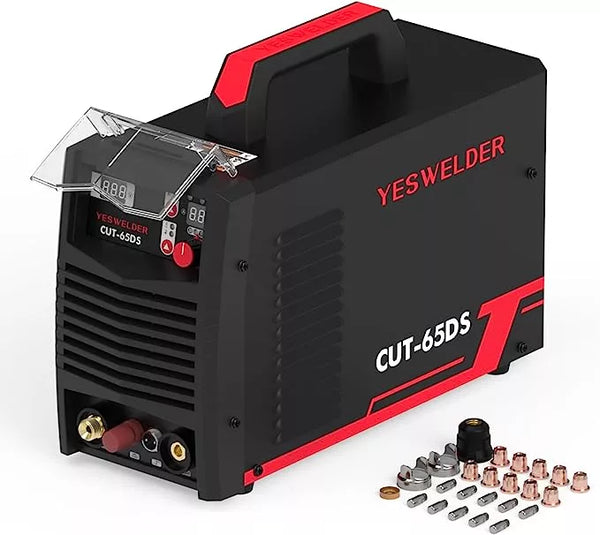
YESWELDER CUT-65DS Plasma Cutter & IPT40 Torch Consumables Set
- YesWelder MP200
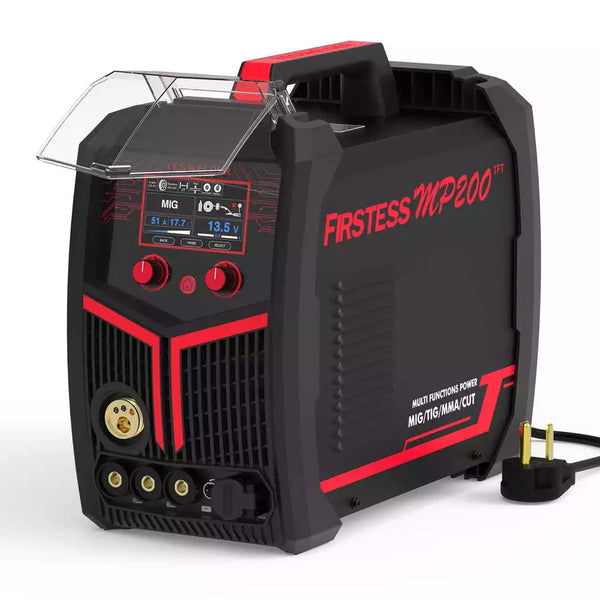
YesWelder FIRSTESS MP200 5-in-1 Welder & Cutter
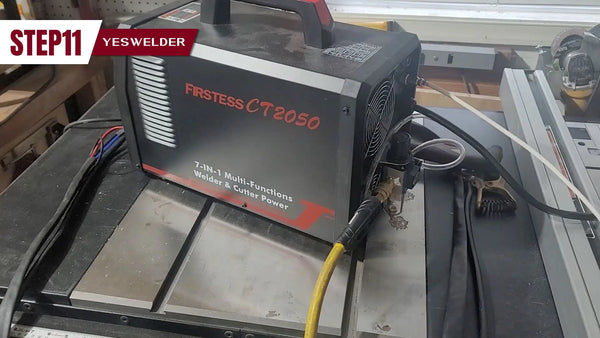
- YesWelder CT2050
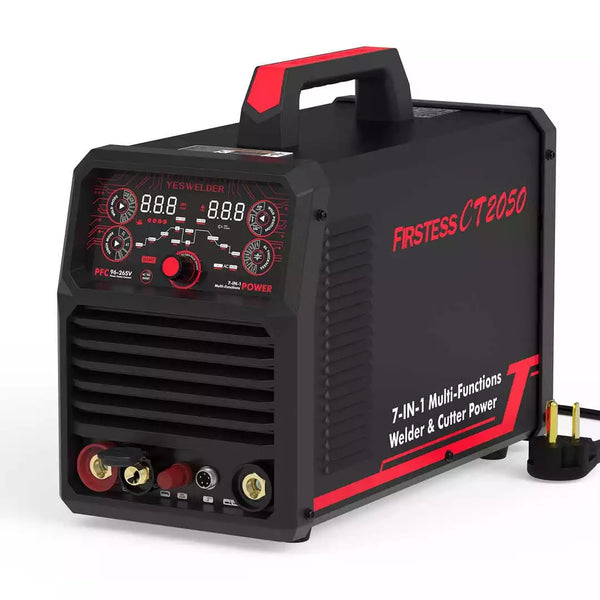
YesWelder FIRSTESS MP200 5-in-1 Welder & Cutter
- Drill press
- Grinders
- Bandsaw
- Drill gun
- Creality ender 5 plus 3D printer
- Tap and die set
- Die grinder
- Sander
- Soldering gun
- Various hand tools
3. Building Process:
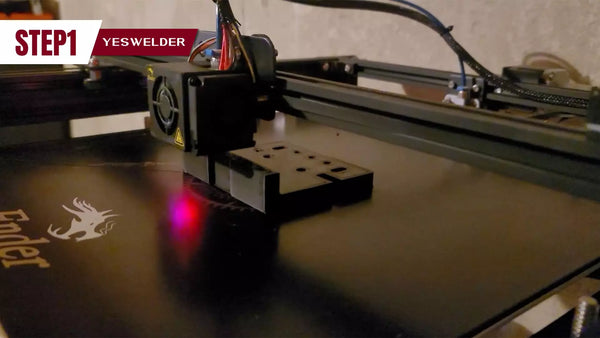
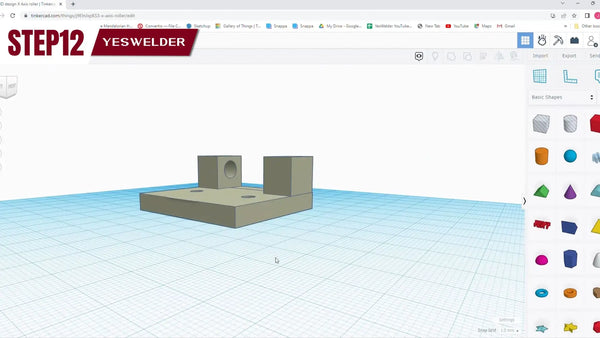
3.1. Gathering Materials and 3D Printing Parts. (01:06)
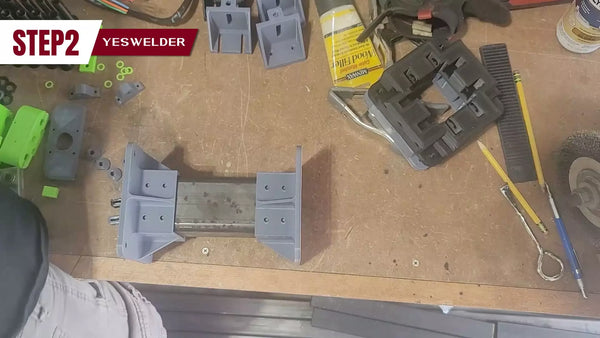
3.2. Cutting out the gantry, preparing the flanges, drilling and tapping holes for assembly. (01:58)
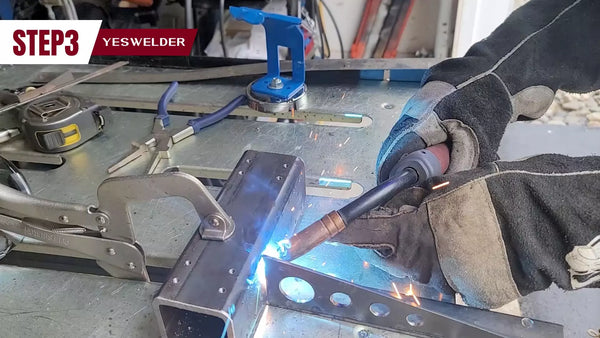
3.3. Welding the triangle bracket to the top gantry plate, and welding the gantry tube to complete the assembly. (02:24)
3.4. Cutting and marking plates for the frame. (03:12)
3.5. Completing the gantry assembly by mounting the bearing block. (04:00)
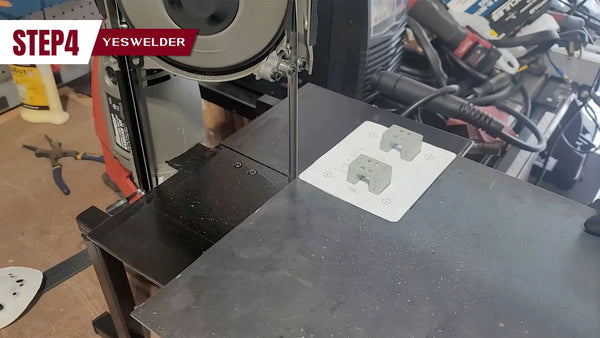
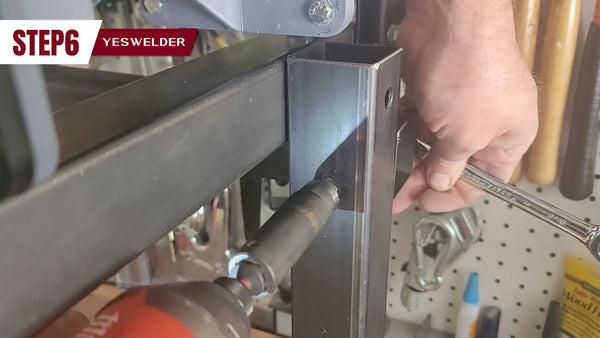
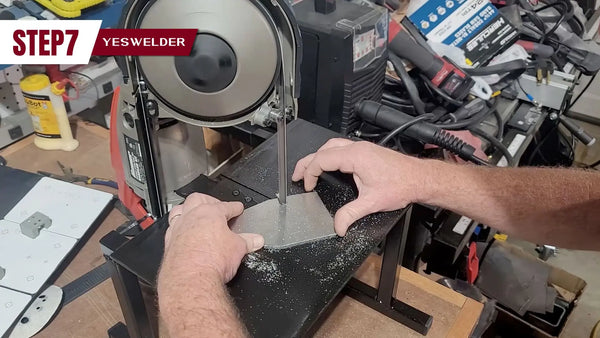
3.6. Cutting and grinding framing components, marking and drilling assembly holes. (05:08)
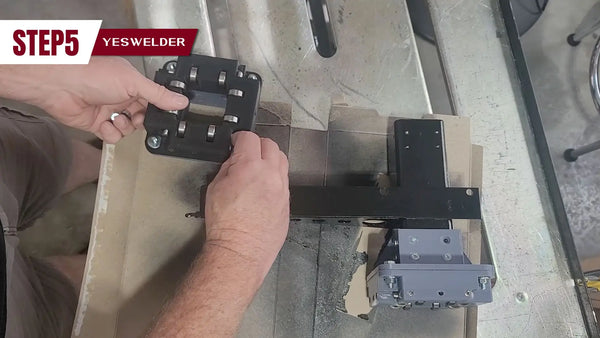
3.7. Cutting out the motor mount and assembling the X-Axis, then painting it. (06:23)
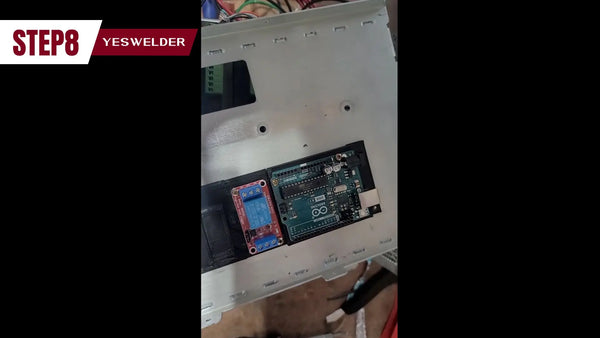
3.8. Installing electronics. (07:29)
3.9. Creating the plasma cutter bed by Cutting slats for the material to sit on and using angle iron and pieces for end caps. (07:46)
3.10. Optional Additions depending on budget. (08:32)
3.11. How to connect the machine. (09:31)
3.12. Adjusting by implementing a 3D printed bearing potter and railing for stability. (09:58)
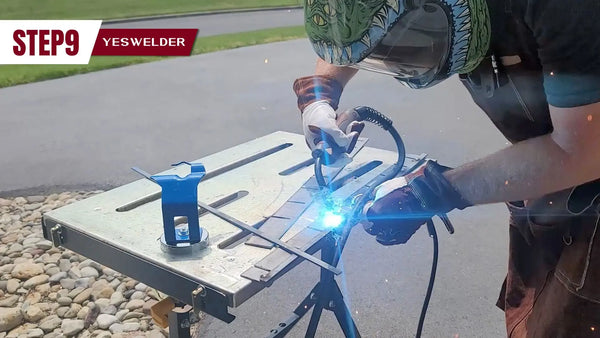
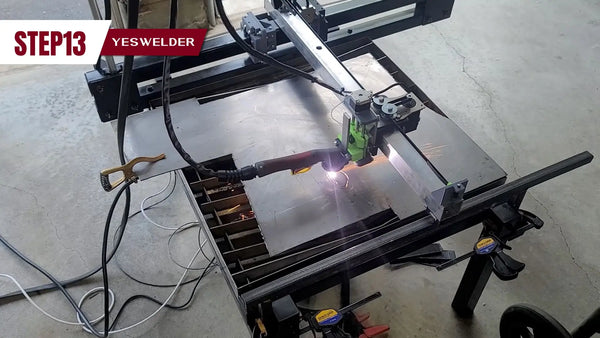
3.13. Successful demonstration of the CNC machine's cutting capabilities. (12:08)
👏 Follow us for more amazing videos!
Thank you to Joe for DIY project. You can follow his YouTube channel
@harbaughsworkshop here.
👏 You may be interested in the following:


Leave a comment