 Skip to content


DIY Project: Build a cool box for your vintage truck!
Check out this DIY Guide! Building a cool box for your vintage truck is an excellent DIY project that adds functionality and style to your vehicle.
By following the steps in this video, it can bring you huge achievability and you can truly understand how fun welding is. Just grab your tools and join now, enjoy your welding with YesWelder!
1. Begin by marking the main box on the first sheet of 3/16 inch thick aluminum diamond plate. (1:05)

2. Use a carbide blade to make all cuts and scoring cuts. Do not use the blade for anything else. (1:35)

3. Score all bends using the tracks. Make the width of the scores about 3/16 inch. (2:10)

4. Clamp down the larger sides to make the bends, while the smaller sides can be bent by hand. (02:46)

5. Stand on the aluminum to finish bending it. Scoring the backside will help get good bends and reduce welding. (03:04)

6. Weld the main box using the Yeswelder 205 DS-B welder and the optional spool gun sold by Yeswelder for this unit. Use the 5356 welding wire. (03:24)

7. Grab the second sheet of aluminum diamond plate and mark out the lid just like the main box. (04:07)

8. Cut out the outside of the lid and score all bends, going wider than the thickness of the material, so it has room to fold in. (04:28)

9. Bend the ends of the lid, using a sheet metal bend for the longer end and a rubber mallet to start trying to get to the final bend. Stand on it for leverage and to prevent it from shifting. (05:44)

10. Weld all the ends of the lid after it cracks. Sand everything smooth and prep it for painting. (06:32)

11. Cut down the piano hinge and install it on the back of the lid using aluminum rivets. (06:58)

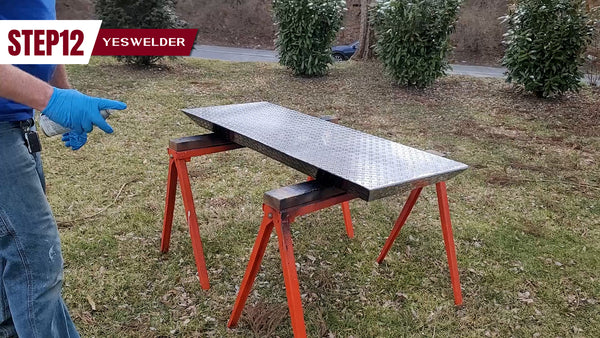
12. Paint the whole utility box satin black. Use three coats of paint, with the first coat acting as a primer. (07:48)
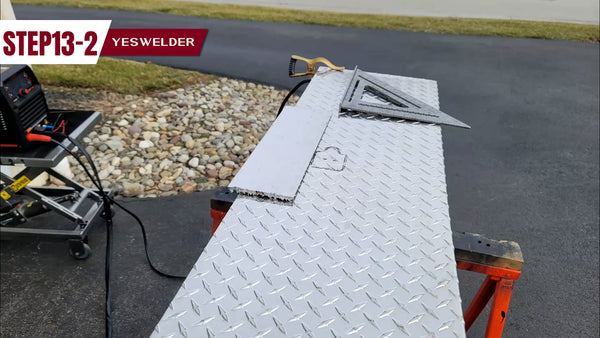
13. Weld all inside seams of the main box and cut out the latch using a plasma cutter from the Yeswelder CT 2050. Prep the main box for paint and paint it the same color as the lid. (08:23,08:44,08:59)


14. Install the latch and finish any final touches(10:10)

Thank you to Joe for DIY project. You can follow his YouTube here.
📩 Your call!


Leave a comment