 Skip to content


DIY Project: Rocket Stove
Welcome to this exciting video where Joe will take you on a journey through the step-by-step process of building a rocket stove, from inception to completion. Using a three-sixteenth-inch steel cut with a CNC machine that he personally constructed, he brought to life the Sunburst design by Jim Biebler. Grab your tools and materials, and let's get this DIY party started!
1. Material
- 3/16 inch steel
- high-heat-resistant paint
2. Equipment
- Chisel
- Grinder
- Flap disc
- Wire wheel
- Cutting wheel
- CNC Machine
- YESWELDER CUT-65DS
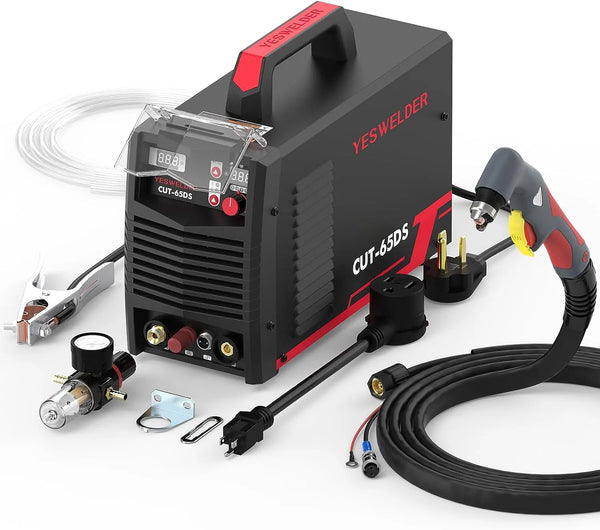
YESWELDER CUT-65DS Plasma Cutter 65 Amp Non High Frequency Non-Touch Pilot Arc Digital DC
- HELMET LYG-Q800D-ME
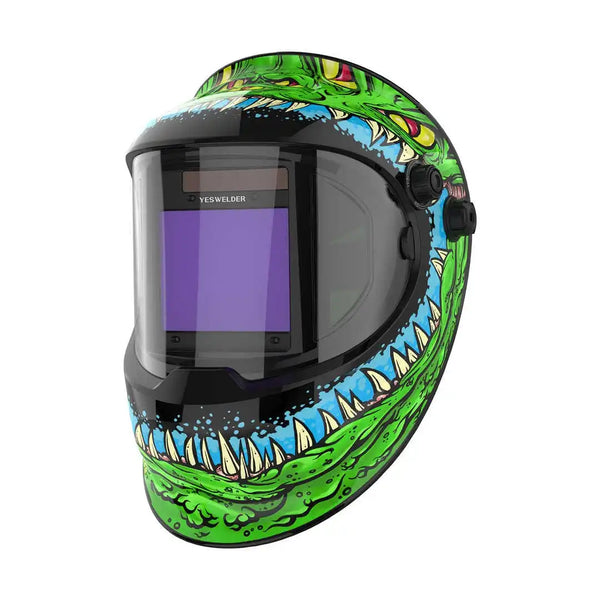
LYG-Q800D-ME Aggressor Q800D Customize Graphic Auto-Darkening Welding Helmet
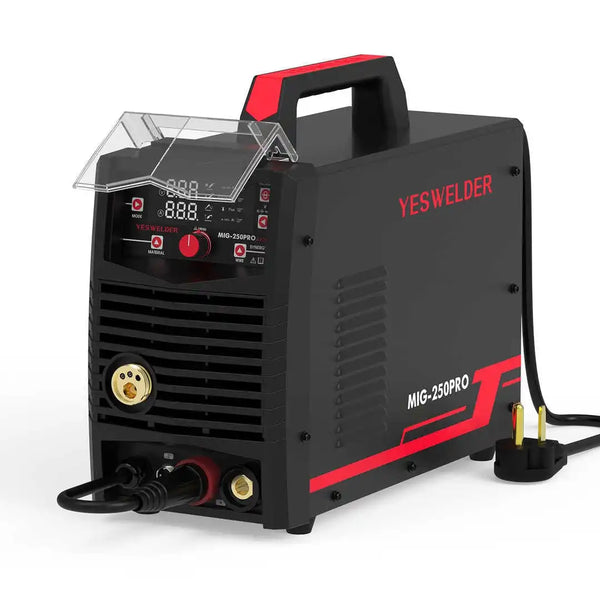
- YESWELDER MIG-250PRO-SG
3. Building Process
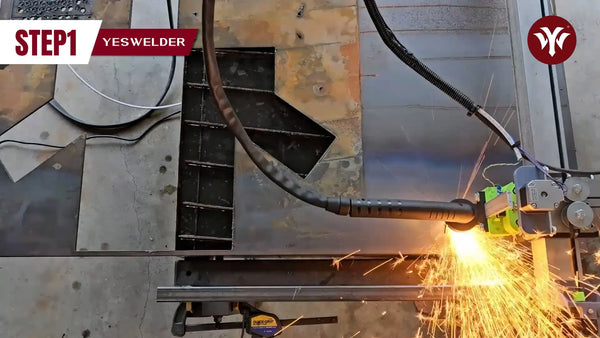
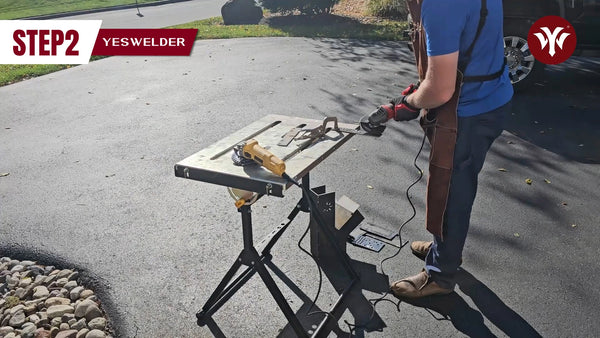
3.1. Start off by cutting out all the parts. (0:21)
3.2. Clean up parts using a combination of tools. (1:45)
3.3. Prepare the parts for the rocket stove's structure. (1:57 )
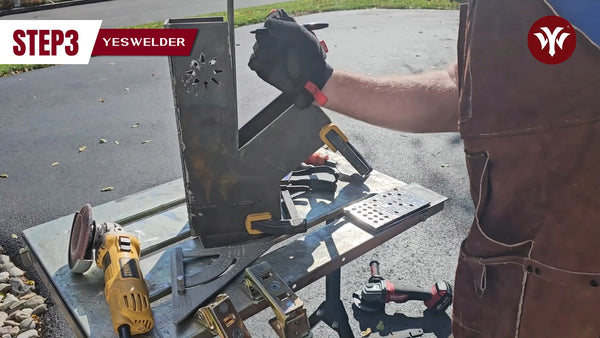
3.4. Line up and tack-weld the inside vent. (02:48)
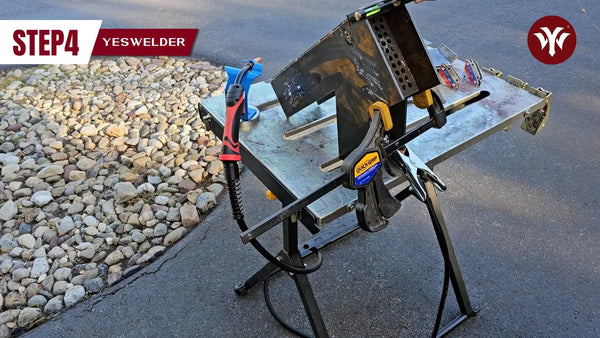
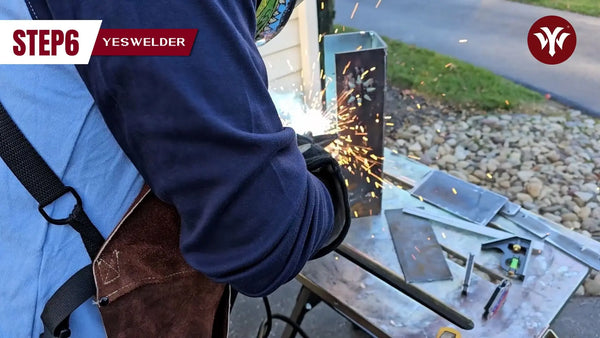
3.5. Tack outside pieces, leaving for final welding. (03:54)
3.6. Line up and tack-weld the separated pieces. (04:26)
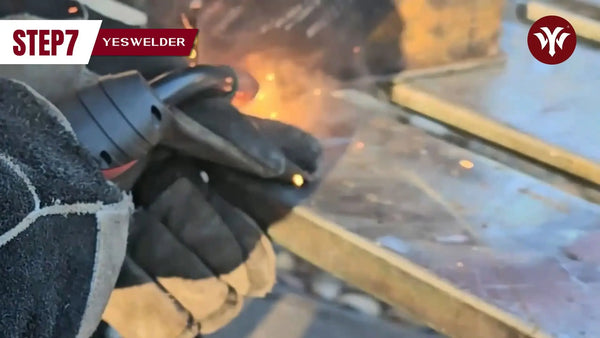
3.7. Add the bottom base and tack welding in place. (04:55)
3.8. Use a wire wheel to clean up some welds. (05:15)
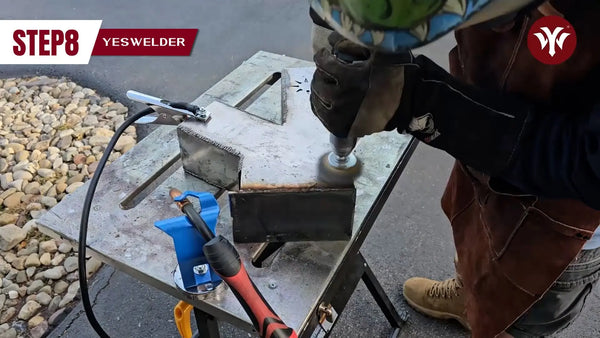
3.9. Cut the ashtray from 8-inch steel using CNC and file. (05:53)

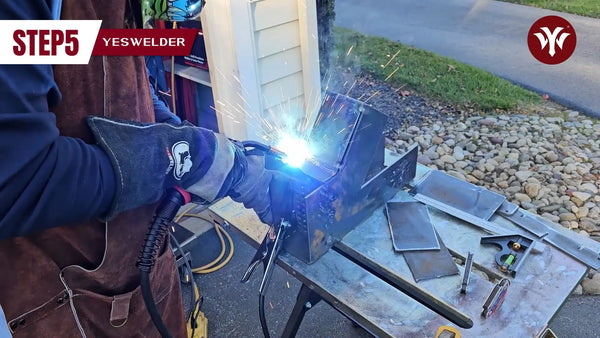
3.10. Weld the crisscross pattern in place. (06:56)
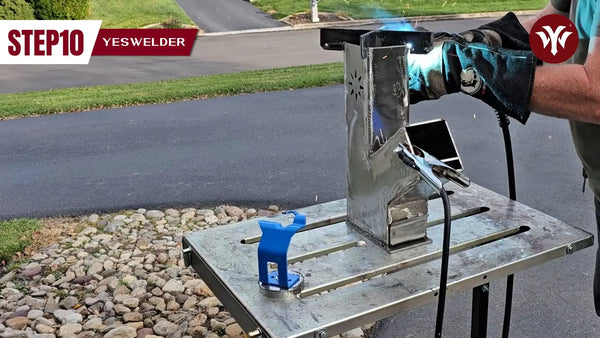
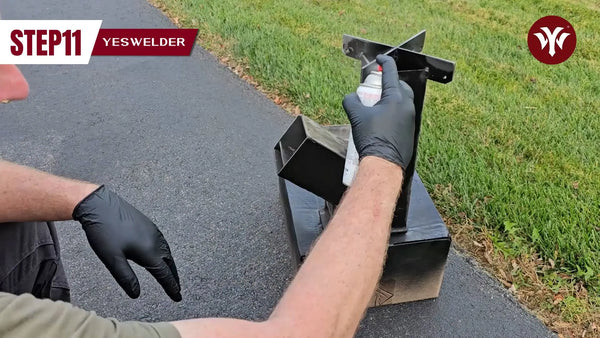
3.11. Multiple coats of high-heat-resistant paint for finishing. (07:12)
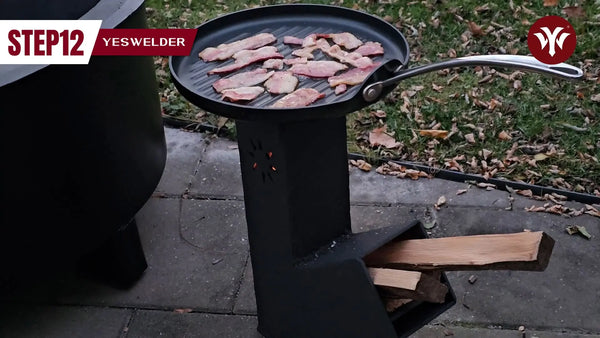
3.12. Declaring the completion of the rocket stove. (07:33)
👏 You may be interested in the following:


Leave a comment