 Skip to content


DIY Project: Diesel Fuel Tank
In this video, @CenterLineDesigns announces a shift in focus toward building a custom fuel tank for his snow cat project. He provides a detailed overview of the tank's design, showcasing drawings and explaining key features. Throughout the video, Cole takes viewers through the process of cutting, bending, and shares insights into the welding equipment used for the project. Join Cole as he takes you on an incredibly detailed crafting journey. Fetch your tools and materials, and let's commence this do-it-yourself celebration!
1. Material
- Aluminum for sides and bottom - 0.120" 5052 sheet
- Tank top and back - 0.120" 3003 bright diamond sheet
- Top flange for sending unit and vent - 1/4" 6061 plate
- Bottom flange for fuel barb fittings - 3/8" 6061 plate
- 3/8" NPT barbed fuel fitting for supply and return hoses
- A weld-on billet aluminum filler neck
2. Equipment

YesWelder FIRSTESS CT2050 Powerful 7-in-1 Welder & Cutter
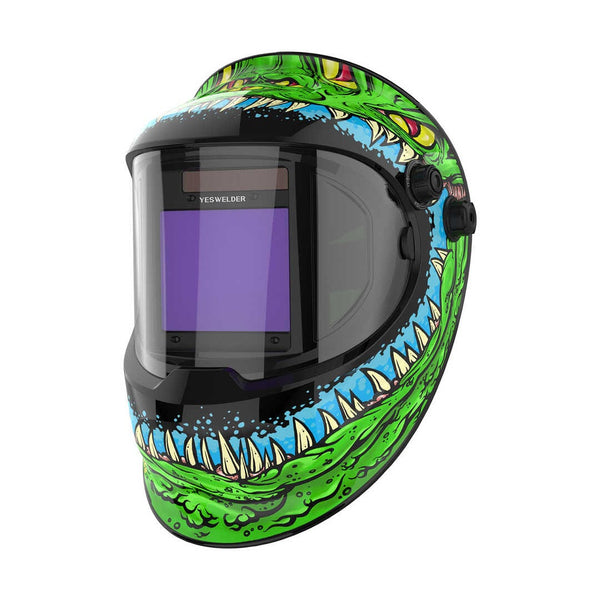
LYG-Q800D-ME Aggressor Q800D Customize Graphic Auto-Darkening Welding Helmet
- Tungsten 3/32" 2% lanthanated with 5356 3/32" filler rod
- Dedicated Stainless Steel wire brush and acetone for material cleaning
- File and cordless 4-1/2" angle grinder with 120 grit flap wheel for deburring material edges
- Table saw with an aluminum cutting blade. (Non ferrous cutting blades are ones with a high Tooth count and a neutral (0 degree) or preferably a negative 5 deg rake on the tooth)
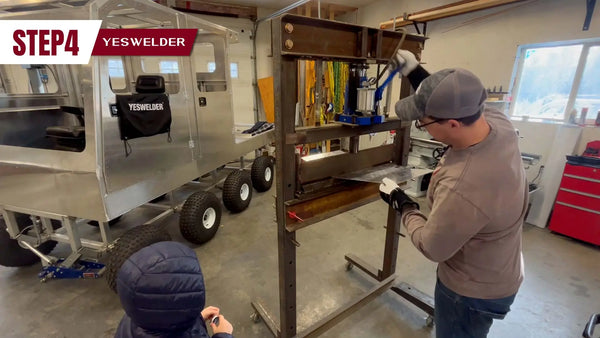
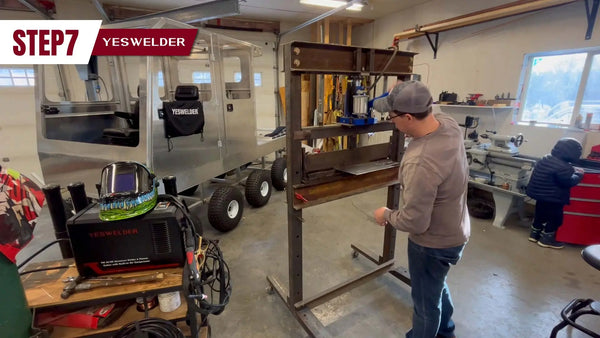
- A homemade 50 ton hydraulic press brake with homemade bending dies for all the bending
- 24" aluminum carpentry square and combination square
- Hole saw to cut opening for filler neck
- A step drill bit to drill out holes in the tank prior to welding on the plates for fittings.
- 3/8" NPT Tap for the fittings and 10/32" tap for sending unit (fuel gauge) mounting screws.
3. Building Process
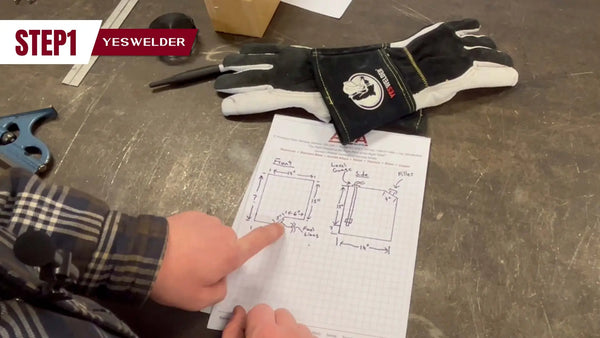
3.1: Show a drawing of the fuel tank design and explain key features. (0:28)
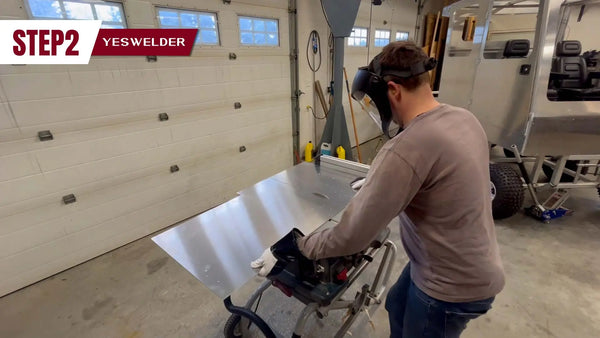
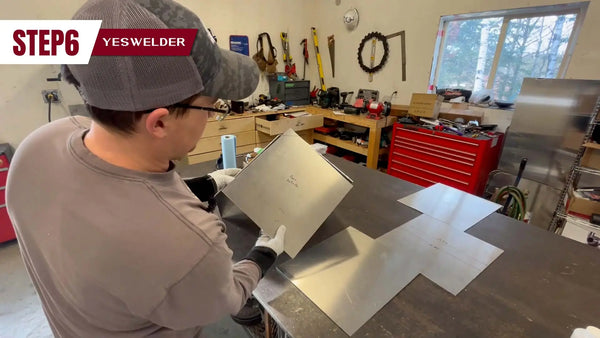
3.2: Cut out the left and right sides of the fuel tank. (1:38)
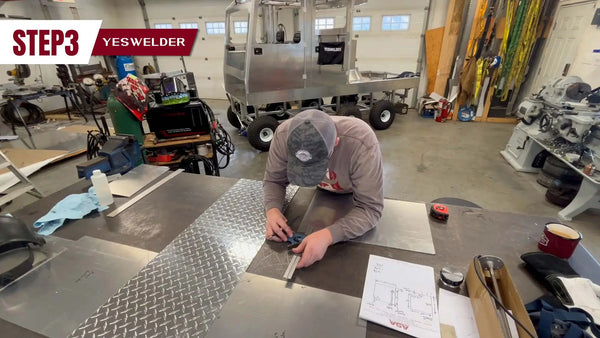
3.3: Mark cuts on the strips according to the design drawing. (2:30)
3.4: Bend the top, chamfer, and back piece. (4:43)
3.5: Check the bends for accuracy and alignment. (6:04)

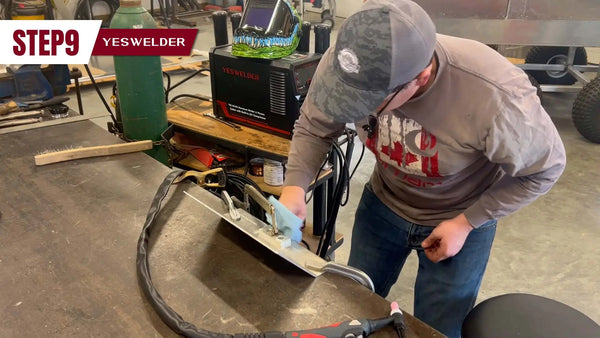
3.6: Mark and cut notches for the fuel barb fittings. (6:55)
3.7: Bend the bottom of the tank. (8:33)
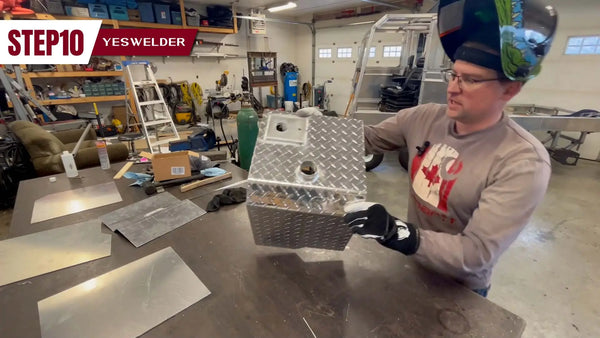
3.8: Make a billet aluminum filler neck for welding onto the tank. (10:00)
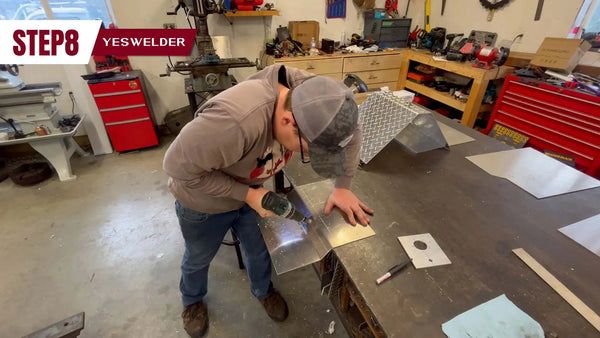
3.9: Clean the parts, including wire brushing and wiping with acetone. (12:31)
3.10: Weld the flange for the sending unit and the breather or vent tube and get the filler neck. (13:53)
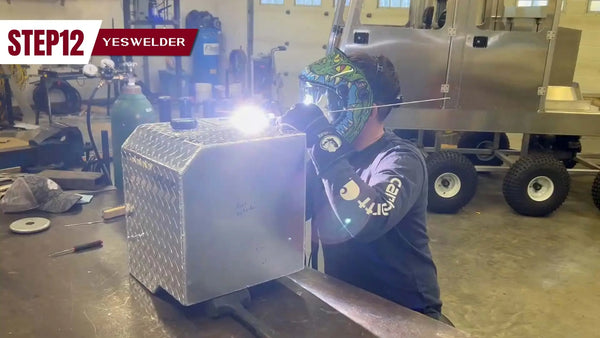
3.11: Assembling parts and welding them together. (15:55)

3.12: Complete the assembly with final welding and discuss plans for water testing the tank. (17:01)
👏 You may be interested in the following:


Leave a comment